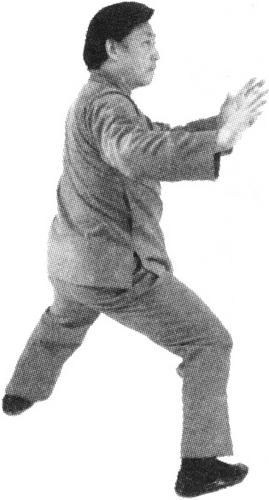
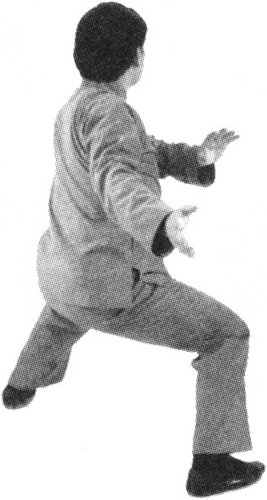
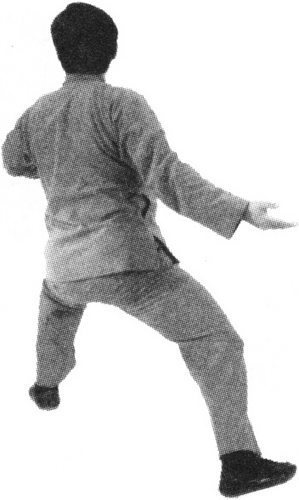
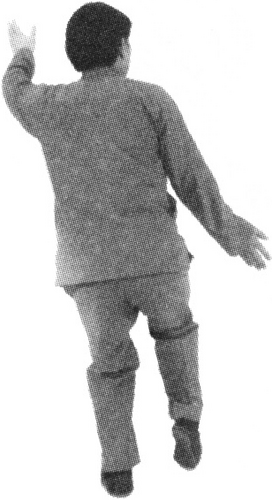
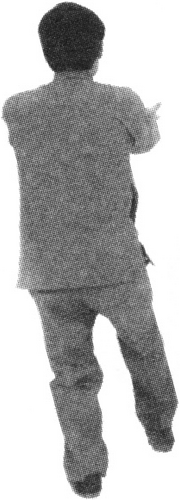
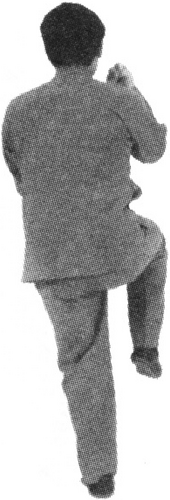
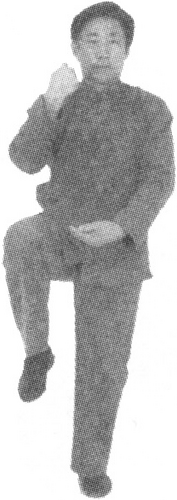
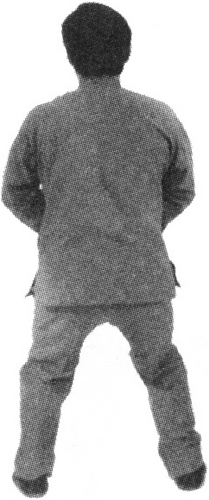
Instruction 2 (Figures 9-907 to 915) The movement should follow the second posture "Golden Hammer Break" (facing north).
Note: The key points are the same as the second posture "Golden Hammer Break".
 |
 |
 |
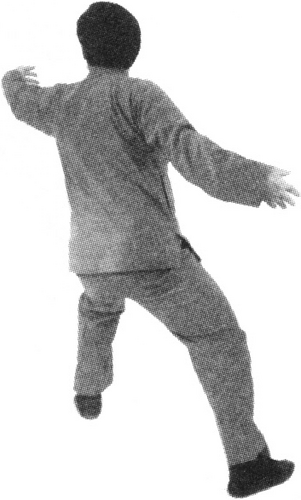 |
Figure 9-907 |
Figure 9-908 |
Figure 9-909 |
Figure 9-910 |
 |
 |
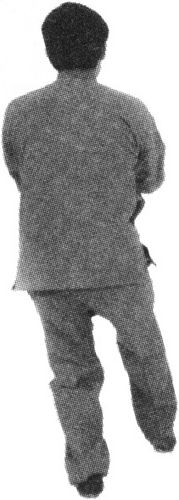 |
Figure 9-911 |
Figure 9-912 |
Figure 9-913 |
 |
 |
 |
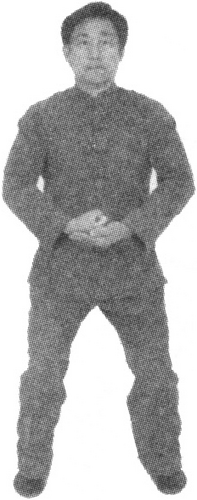 |
Figure 9-914 |
Figure 9-914b |
Figure 9-915 |
Figure 9-915b |
384